How To Create Domain Controller In Windows Server 2008 R2
Domain concept is introduced in windows NT. Domain Controller (DC) is a server that is responsible to maintain security within window server domain. To install Domain Controller (DC) in Windows Server 2008 R2, follow the steps.
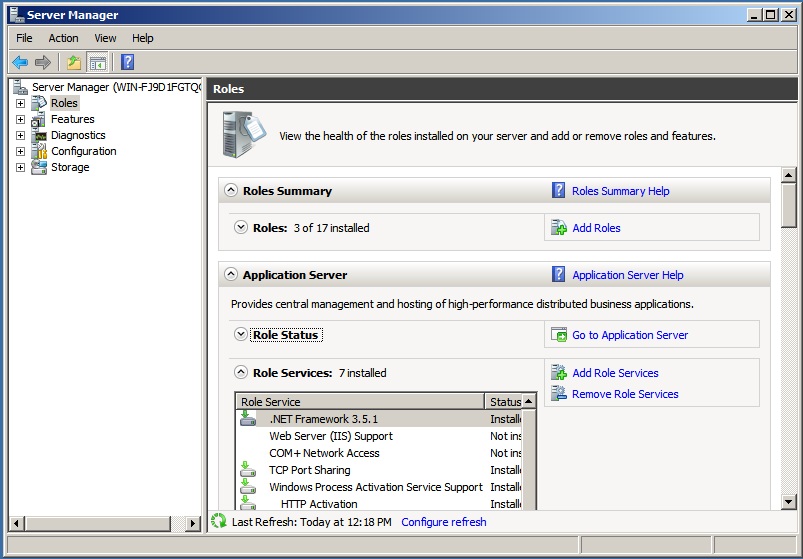
Step 1: Click “Start -> Administrative tools -> Server Manager -> Roles -> Add Roles”
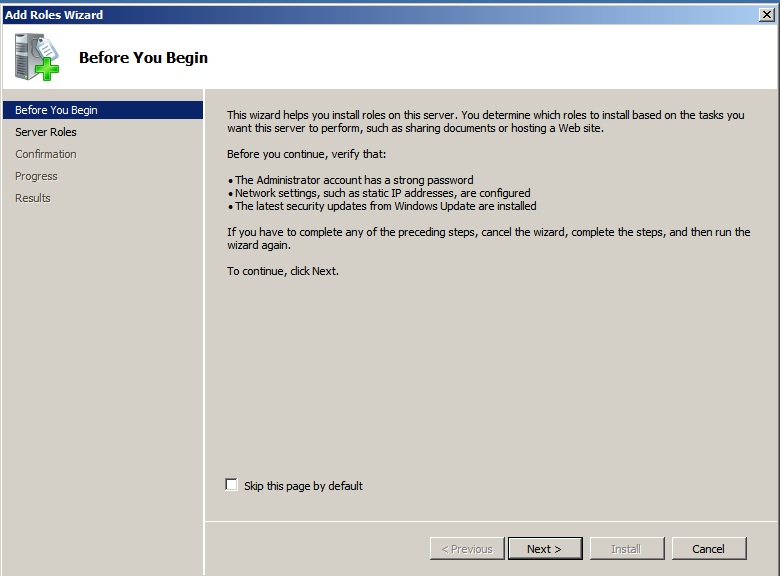
Step 2: Click next on the following screen.
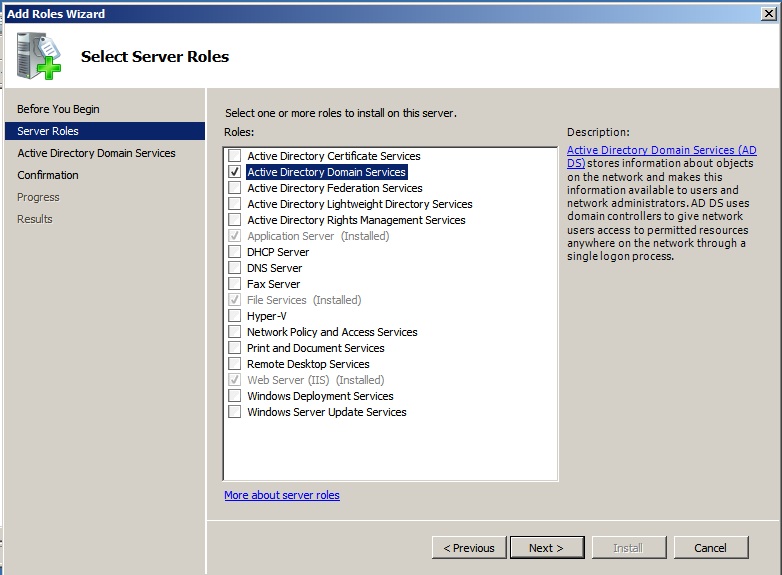
Step 3: Select Server Role - “Active directory domain service” and Click Next.
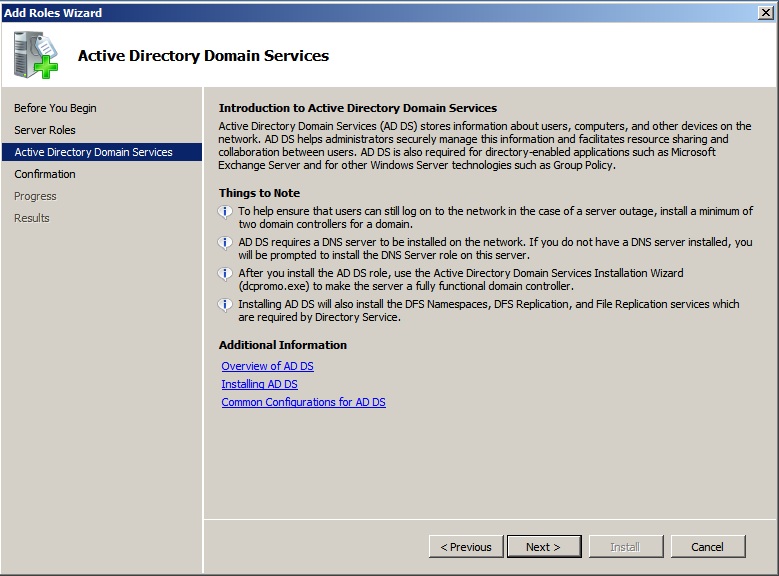
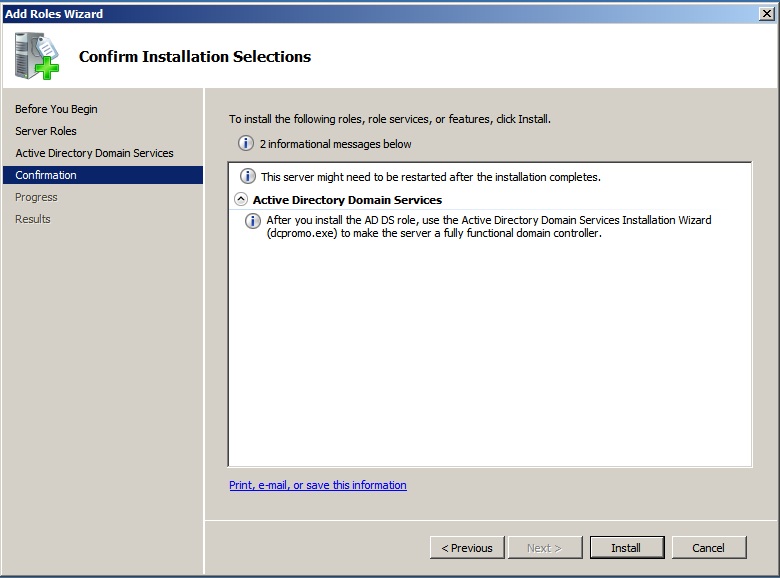
Step 4: Click “Install”
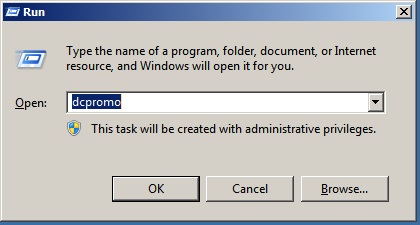
Step 5: Now install DNS Server and active directory service. Go to “run” and type “dcpromo”
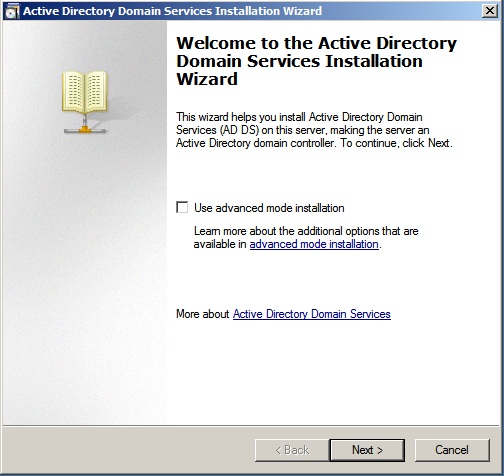
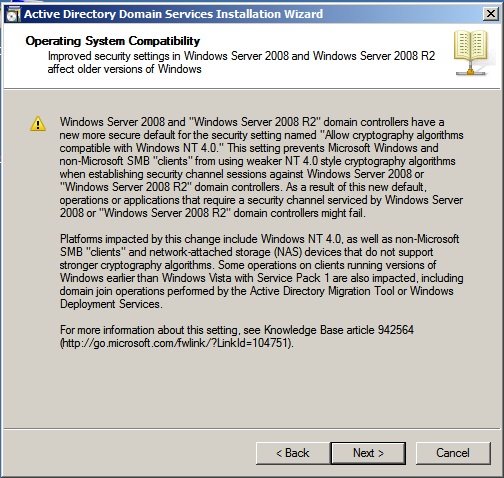
Step 6: In Active Directory Domain Services Installation Wizard. Press “Next” and don’t check on “Use advance mode installation”.
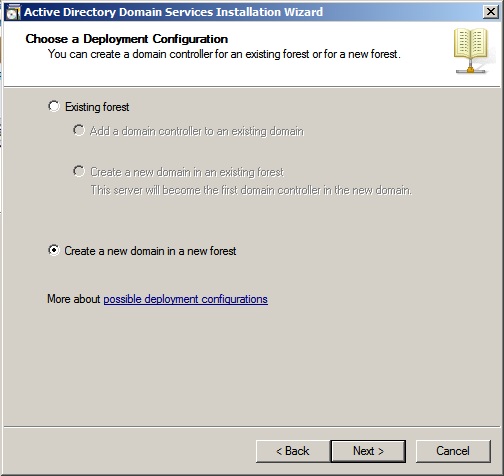
Step 7: Select “Create a new domain in a new forest” and click “Next” on the following screen
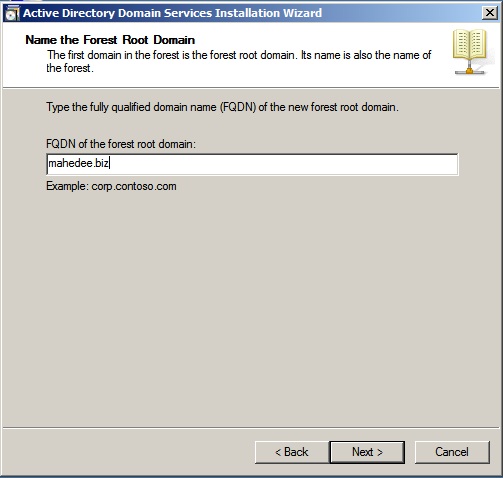
Step 8: Type your domain name and click “Next”.
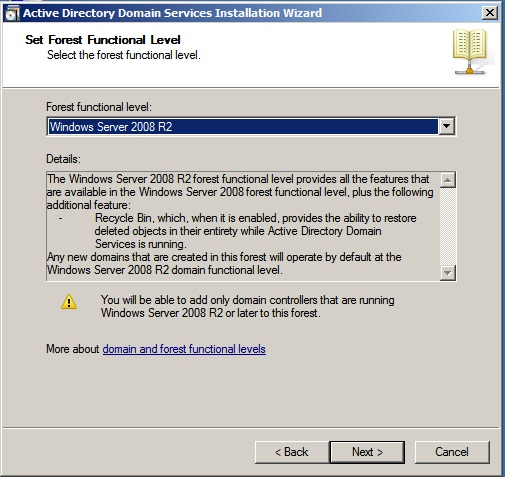
Step 9: Select Windows Server 2008 R2 and click “Next”
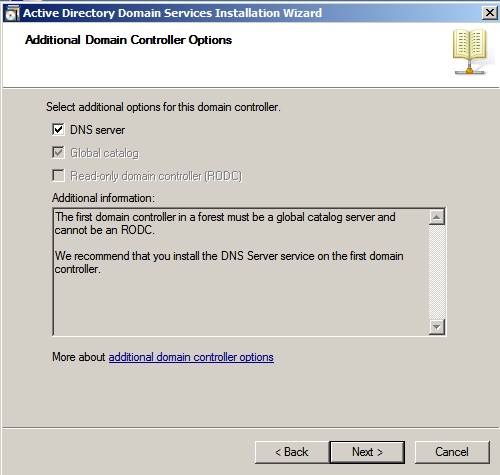
Step 10: If this is the first Domain controller then the following message will be visible. Check “DNS Server” and click “Next”
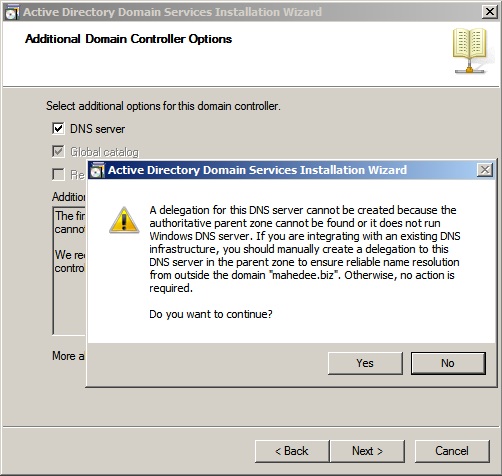
Step 11: Press “Yes” to continue.
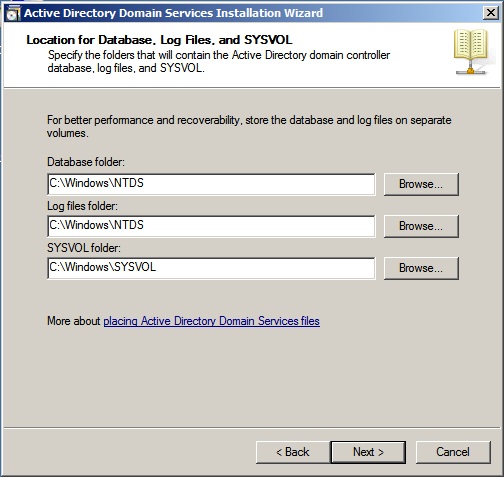
Step 12: Select the location to keep log of Active Directory Domain Controller.
Step 13: Type administrator password and Confirm password for directory service and click “Next”

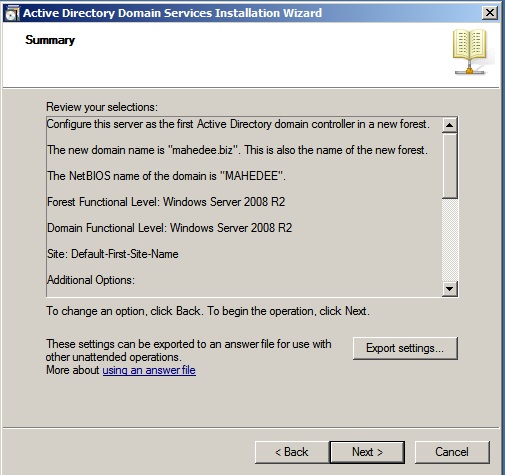
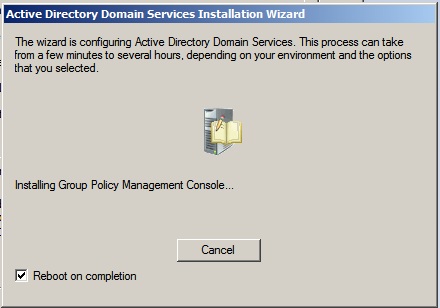
Step 14: Click “Next” of Summary window and check reboot the computer of the following screen.
Step 15: Your Domain Controller installed successfully. Now login to the system by domain Id.