
Deploy bot application to Azure and register in Microsoft Bot Framework
Before starting to read this article you are requested to read the following article Create your first chat bot application using Microsoft Bot Framework
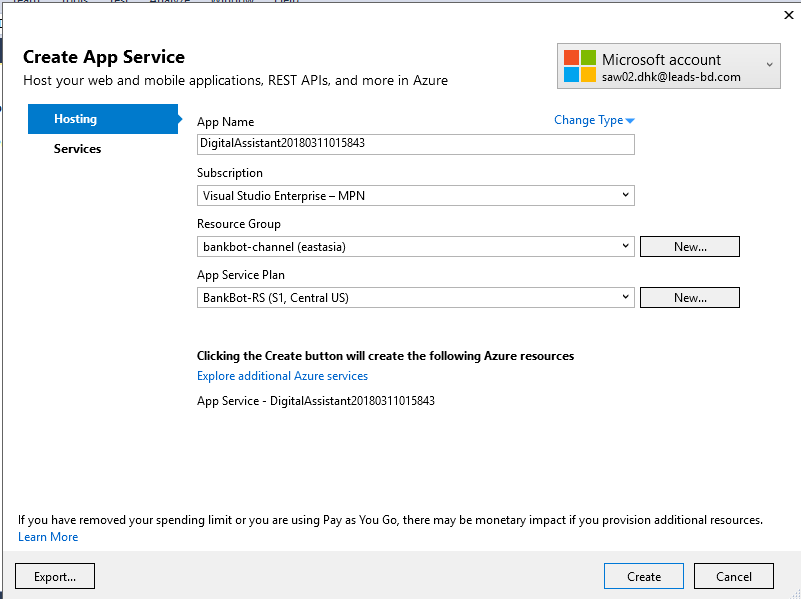
Publish Application to Azure
- Right click on the web application and click publish
- Create Microsoft App Service
- Select Microsoft Azure App Service
- Click publish
- Type App name, choose subscription, resource group, app service plan
- Click create
- Application is deployed to azure and you will see the following page in the browser
- You will see the azure application url
- You will get message end point

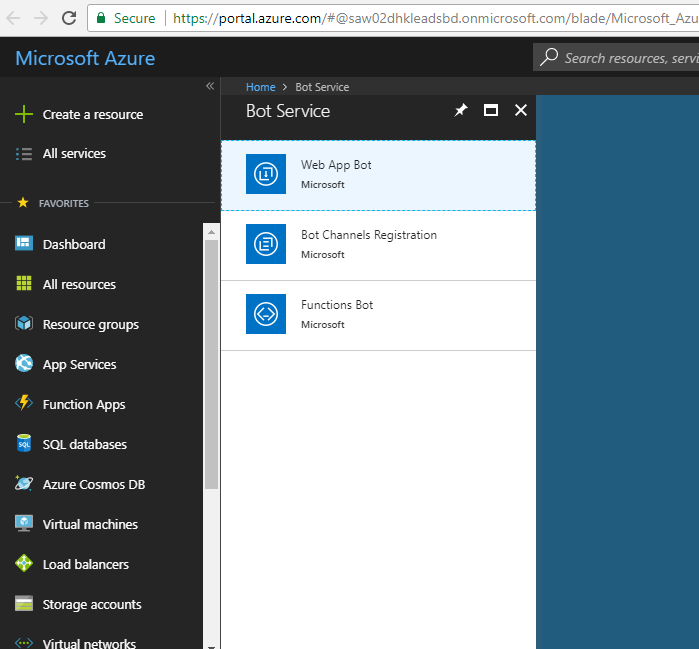
Register Bot with Microsoft Bot Framework
- Go to https://dev.botframework.com/
- Click to My bot -> Create bot
- Click Create button
- You will redirect to Azure portal
- Click “Web App bot” and then click create
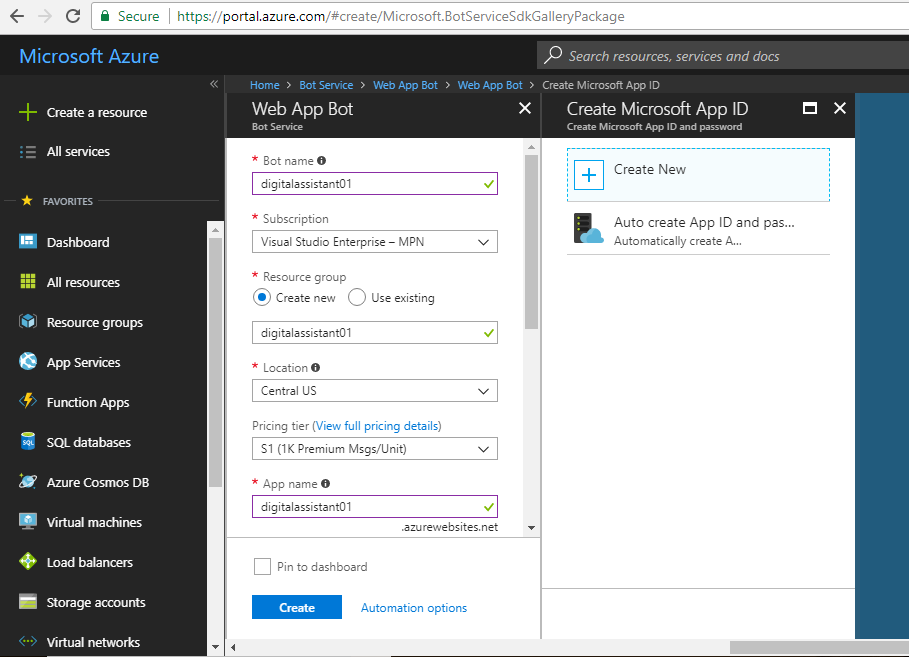
Create new bot service
- From Web App Bot -> Click the “Create button” to start the bot creation process.
- Type bot name
- App name
- You can keep other option by default or change as your own

Obtain Microsoft App Id and Microsoft App Password
- Click settings of newly created bot service
-
Change message end point
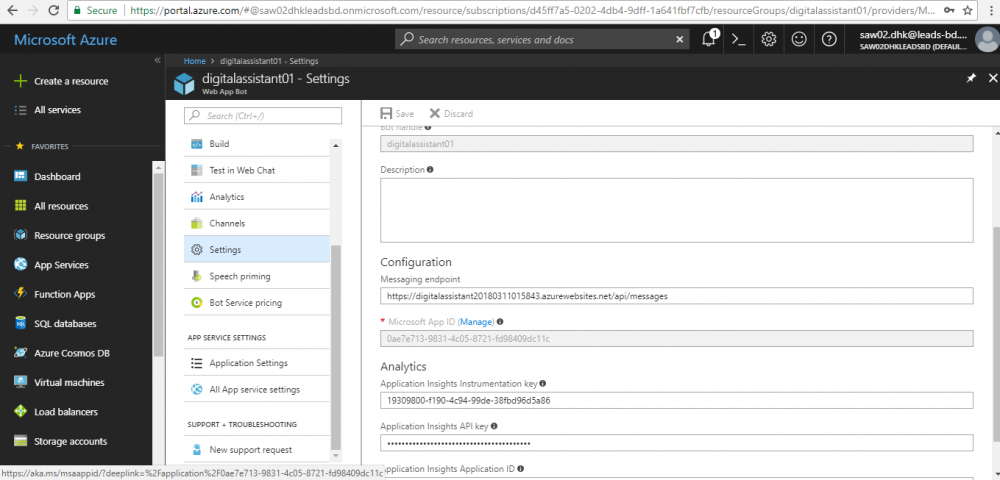
- Click Mange (beside Microsoft App id) link
-
Click Generate new password and obtain new Microsoft app id and password and then save

- Now open web.config of bot application and add Microsoft App Id and password.
-
Publish application again to azure

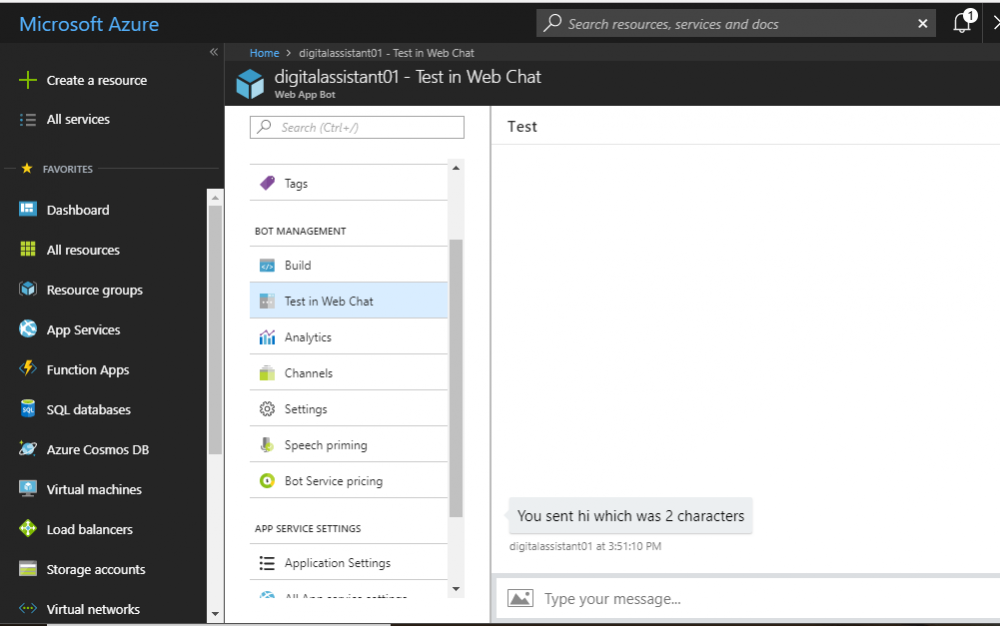
- Now go to Web App bot in Azure
- Click Test in Web Chat
- In the right side window. Type some message and enter.
- You will see the following reply.
If it replied above message, means its ok. Cheers !!