Setup your own docker private registry in windows machine
A Docker private registry is a centralized repository for storing and managing Docker images in a private and secure environment. Docker images are lightweight, standalone, and executable packages that contain all the necessary components to run a software application, including the code, runtime, libraries, and system tools. Instead of relying on public Docker Hub repositories, a private registry allows organizations to host their own Docker images internally.
Key features and benefits of a Docker private registry include:
-
Security: Keep sensitive or proprietary Docker images within the organization’s network, preventing unauthorized access.
-
Control: Maintain control over the distribution and versioning of Docker images, ensuring consistency across development, testing, and production environments.
-
Performance: Reduce image pull times by hosting images locally, especially beneficial in environments with limited or intermittent internet connectivity.
-
Customization: Tailor the registry to specific organizational requirements, adding authentication, access controls, and other features as needed.
-
Compliance: Adhere to data protection and regulatory requirements by managing and securing Docker images internally.
Required Tools and Technologies
- Docker desktop
- Docker Registry
- Docker Registry front end
How to setup docker private registry
-
Install docker desktop in your windows machine. You can download it from here
-
Pull registry and, docker-registry-frontend images and then run in a container. You can pull images and run images in a container using separate command. But here I use a docker compose file to run both images in the container using a single command.
Here, registry image is used for storing and distributing of container images and artifacts and docker-registry-frontend is used as a frontend for the private registry.
docker-compose.yaml
# Version of the Docker Compose file
version: "3.7"

# Definition of services in the Docker Compose file
services:

  # Service for the Docker Registry host
  docker-registry-host:
    # Docker image to be used for the service
    image: registry

    # Port mapping - maps port 5000 on the host to port 5000 on the container
    ports:
      - 5000:5000

    # Volume mapping - mounts the local ./registry-data directory to /var/lib/registry in the container
    volumes:
      - ./registry-data:/var/lib/registry

    # Network configuration - connects the service to the 'docker-registry' network
    networks:
      - docker-registry

  # Service for the Docker Registry web UI
  docker-registry-host-web-ui:
    # Docker image to be used for the service
    image: konradkleine/docker-registry-frontend:v2

    # Environment variables for the service
    environment:
      ENV_DOCKER_REGISTRY_HOST: docker-registry-host
      ENV_DOCKER_REGISTRY_PORT: 5000

    # Port mapping - maps port 8080 on the host to port 80 on the container
    ports:
      - 8088:80

    # Network configuration - connects the service to the 'docker-registry' network
    networks:
      - docker-registry

# Definition of a custom network named 'docker-registry'
networks:
  docker-registry:
- Now open windows terminal and go the directory where
docker-compose.yamlfile resides and run the following command.
docker-compose up
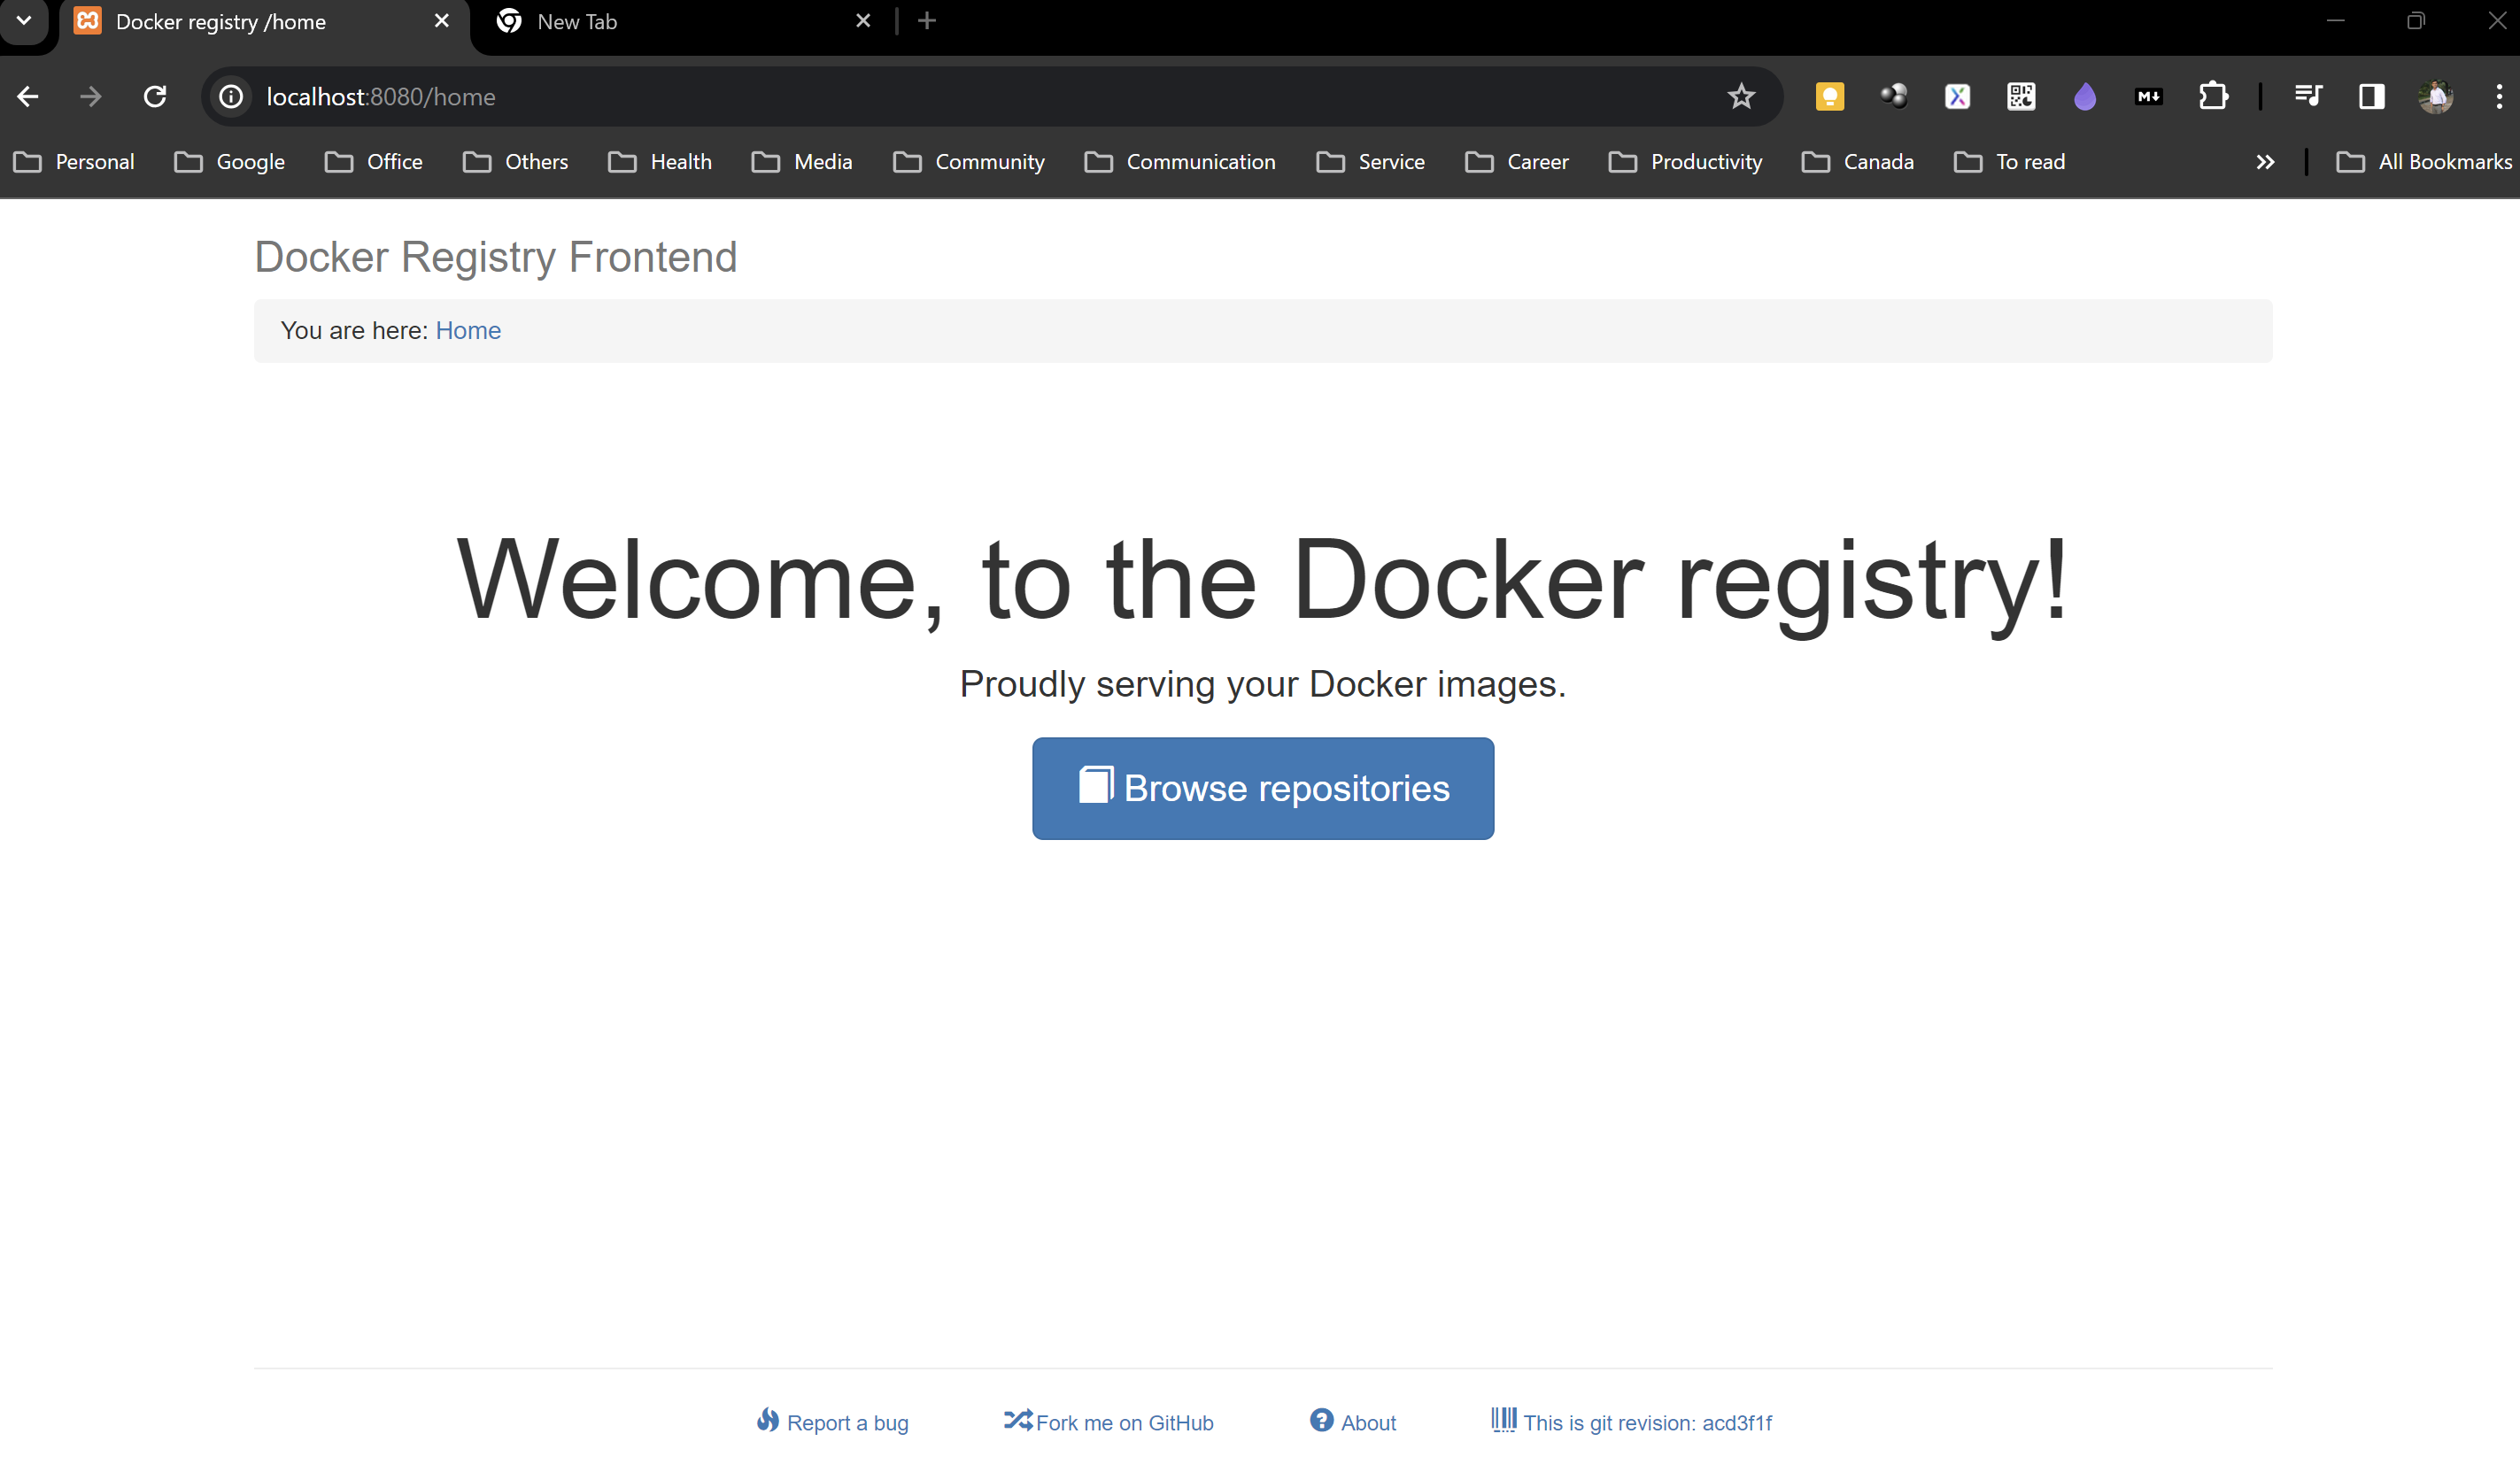
- Now you can access the docker registry frontend using the following url and you will see the following output.
http://localhost:8088/home

Create a sample ASP.NET Core application and push images to the private registry
-
Create a sample ASP.NET Core Web API application name - PrivateRegistryDemo
-
To see swagger in the release mode just comment out the following code in Program.cs file.
     // Configure the HTTP request pipeline.
     //if (app.Environment.IsDevelopment())
     //{
         app.UseSwagger();
         app.UseSwaggerUI();
     //}
- Add a docker file in the project and add following contents
#See https://aka.ms/customizecontainer to learn how to customize your debug container and how Visual Studio uses this Dockerfile to build your images for faster debugging.

FROM mcr.microsoft.com/dotnet/aspnet:8.0 AS base
USER app
WORKDIR /app
EXPOSE 8080
EXPOSE 8081

FROM mcr.microsoft.com/dotnet/sdk:8.0 AS build
ARG BUILD_CONFIGURATION=Release
WORKDIR /src
COPY ["PrivateRegistryDemo.csproj", "./"]
RUN dotnet restore "./PrivateRegistryDemo.csproj"
COPY . .
WORKDIR "/src/."
RUN dotnet build "PrivateRegistryDemo.csproj" -c $BUILD_CONFIGURATION -o /app/build

FROM build AS publish
ARG BUILD_CONFIGURATION=Release
RUN dotnet publish "PrivateRegistryDemo.csproj" -c $BUILD_CONFIGURATION -o /app/publish /p:UseAppHost=false

FROM base AS final
WORKDIR /app
COPY --from=publish /app/publish .
ENTRYPOINT ["dotnet", "PrivateRegistryDemo.dll"]
- Now open the terminal and go to the project directory and run the following command to build the docker image.
docker build -t privateregistrydemo:1.0.0 .
- Now run the following command to tag the image.
docker tag privateregistrydemo:1.0.0 localhost:5000/privateregistrydemo
- Now run the following command to push the image to the private registry.
docker push localhost:5000/privateregistrydemo
-
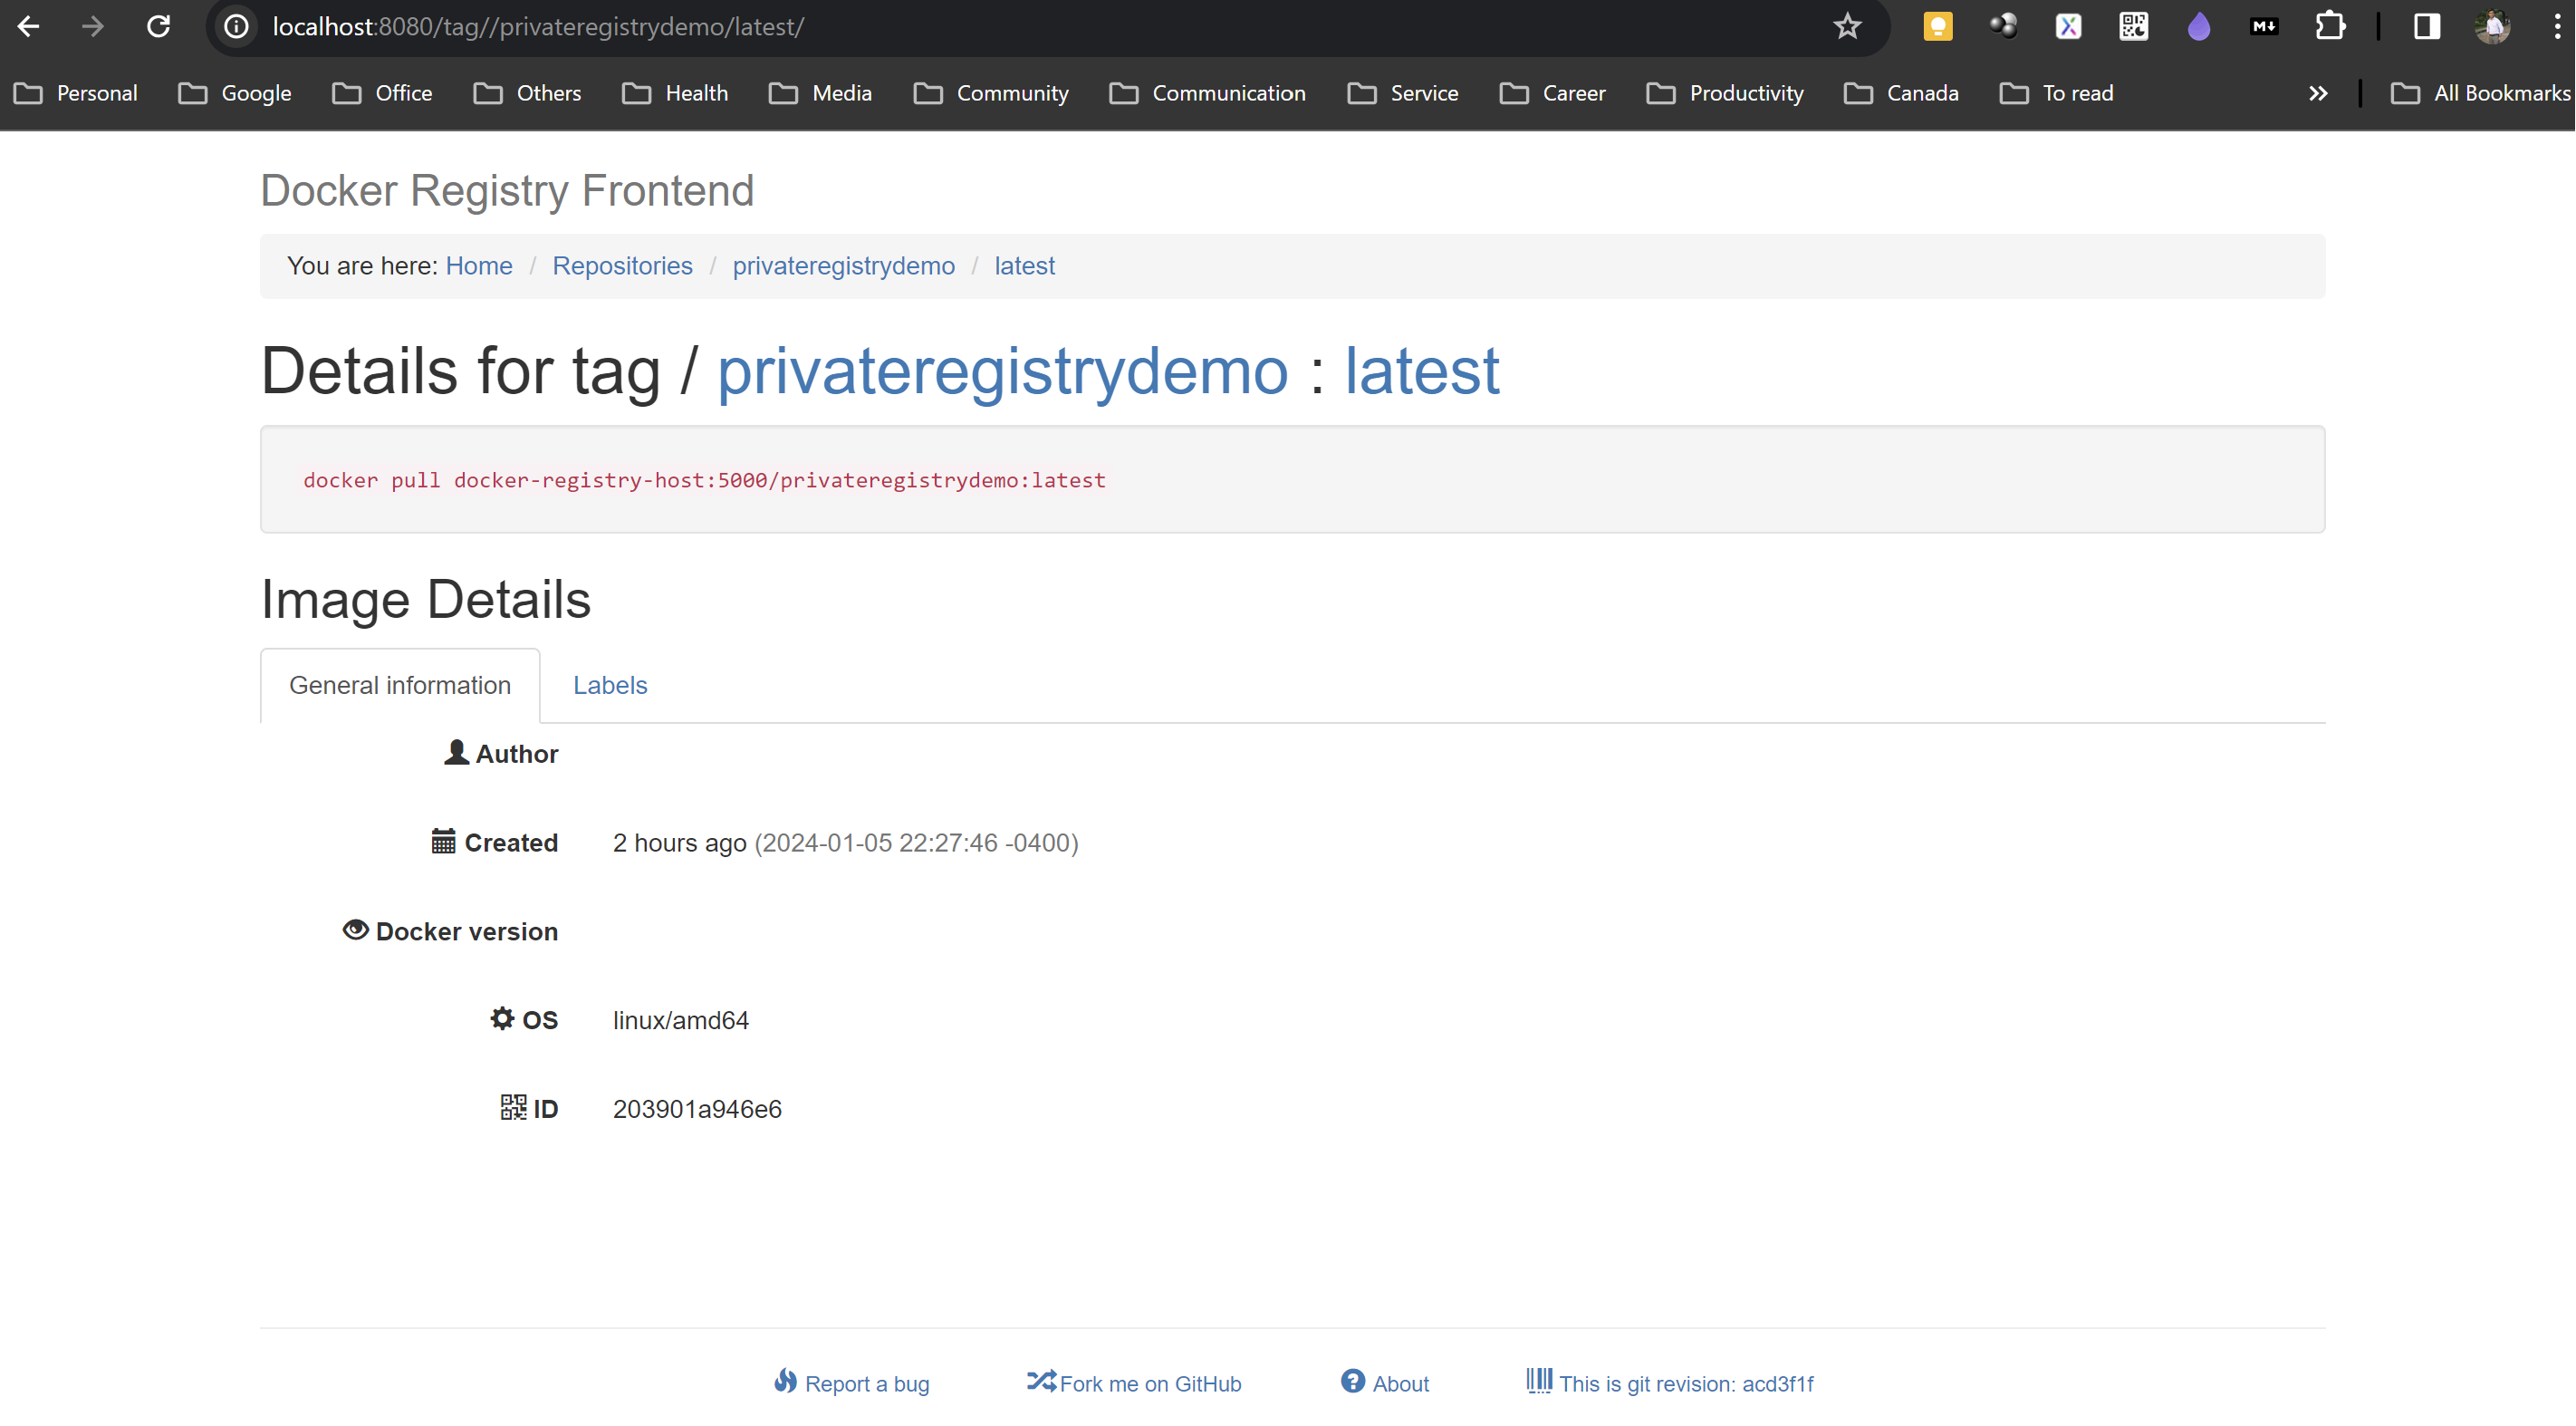
Now you can see the pushed image in the private registry frontend.

-
Now you can pull the image from the private registry using the following command.
docker pull localhost:5000/privateregistrydemo
- Now you can run the image in a container using the following command.
docker run -dp 8080:8080 --name private-registry-demo localhost:5000/privateregistrydemo:latest
- Now you can access the application using the following url.
http://localhost:8080/swagger/index.html
or
http://localhost:8080/WeatherForecast
- Alternative: You can create your own private Docker registry with Portus using Ubuntu.


Comments